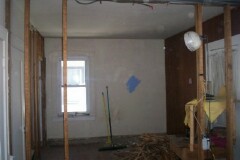
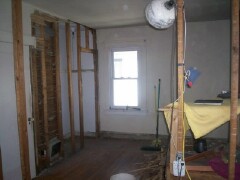
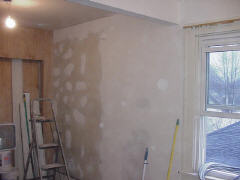
While doing this remodeling job, I ripped out a couple walls, expanding a closet, building a closet, adding a bathroom, installing new electric outlets, light fixtures, to make this a really nice Master bedroom.
The first step was to rip out the middle bedroom wall. I left a couple studs in untill I add the header to support the ceiling. Instead of having two
10 X 10 small rooms this room will be 10 X 20.
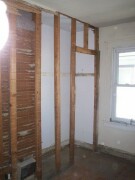
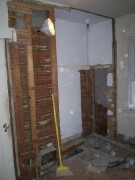
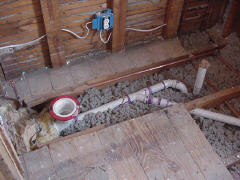
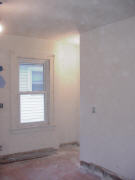
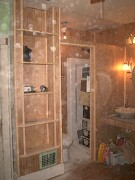
This is where the small bathroom will be. Once the walls
were removed I had to open up the floor to get ready to
install the new PVC plumbing for the toilet, shower and sink.
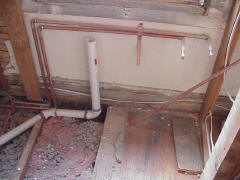
I will also run new 3/4 inch copper water supply lines to feed
all the new fixtures.
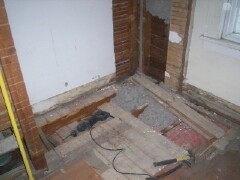
Once I opened up the floor I ran 3 inch PVC to the toilet
flange split it off and reduced to 1 1/2 inch PVC for the
drain in the shower and off to the sink.
Closing up the floor came only after I tested all the copper plumbing.
Once sure nothing leaked I covered everything in with the existing 3/4 inch flooring.
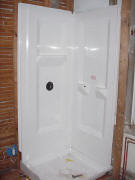
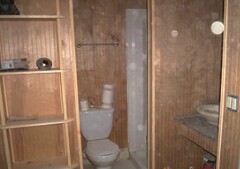
Now it was time to install the shower but first I added 3/4 plywood to the floor for strength.
We used an EL Mustee shower base and 3 piece fiberglass shower unit.
Installing the base unit is easy, just slip over
the pvc drain pipe, install rubber gasket and
secure to the walls with screws.
The sides snap into each other and are secured
to the wall studs with screws too. Apply a bead
of silicone caulking at the base where the bottom
of the side panels meet. Install the back panel
first, then the left side.
You can see in this picture I had to
cut out for the mixer valve. Slide
the panel into the other and push
down to snap together. Do the
same to the other side.
With this application I built the wall
after I installed the 3rd side.
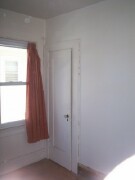
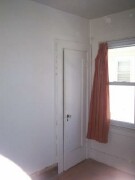
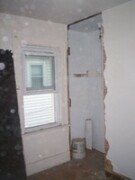
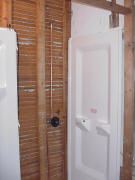
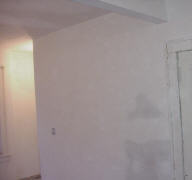
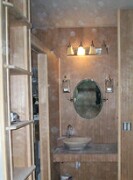
Here are some after pictures. There was a door here in both these spots. I pulled it out, added a stud and drywalled over the opening.
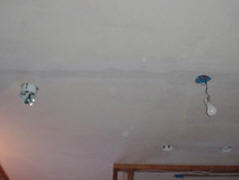
Added lighting, with the plaster and lath ceiling. The ceiling is in good shape so I removed a channel plaster. Drilled through the joists for wiring. put the lath back and plastered back over, skim coat with joint compound, sand, primer and paint.