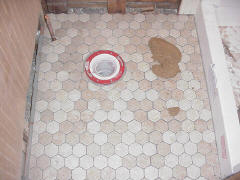
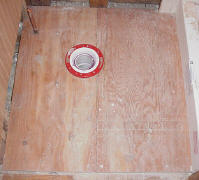
Make sure the floor is secured well to
the subfloor, attach with screws and
in this area where the toilet will be.
Be sure the area is clean and free of
sawdust before starting.
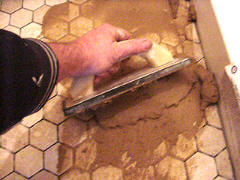
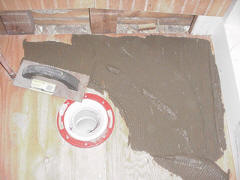
Mix up according to the directions a
clean water and a mixer attachment
to your drill.
Make sure there are no lumps..
Start spreading out the thinset with a notched trowel covering only the area you can easily reach.
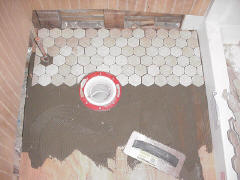
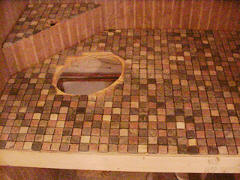
These mosaic tiles came in 12 inch squares and it only took just shy of 3 pieces to go across.
As each piece is layed apply equeal pressure to the top and puch into the thinset.
work your way across the floor paying attention to the spacing in between each tile. Once they are all layed out you will have to wait 24 hours for the thinset to set up before applying grout.
The thinset I used was the type that set up quickly which was perfect for this little job. I only had to wait a couple hours and I was able to apply the grout.
Mixing the grout is the same as mixing the thinset. In a bucket with clean water according to the instructions.
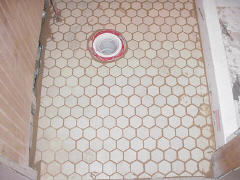
Apply the grout with a grout sponge holding it at a 45 degree angle swirling it back and forth working it into all the joints. Spread grout evenly across the surface pulling excess along as you work your way across the floor.
Let grout dry to a haze and with a clean damp sponge wipr the surface clean ringing out the sponges in clean water.
Allow the grout to dry and wipe it clean again with a damp sponge and polishing it to a shine.
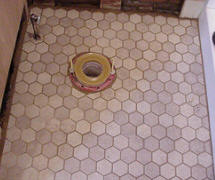
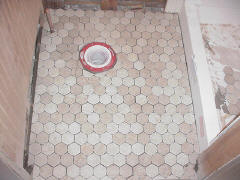
This is the final product and it is ready for the toilet to be installed.
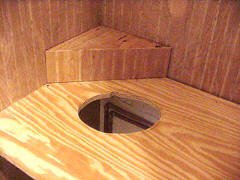
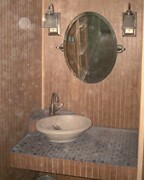
This is a custom counter I built for a small bathroom. This little mosaic tile was 3/4 inch squares in a variety of colors.
