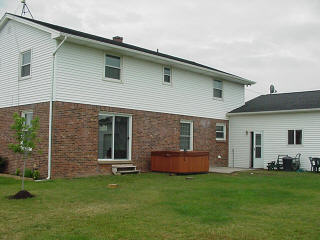
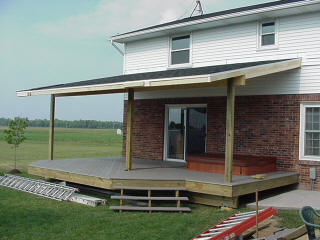
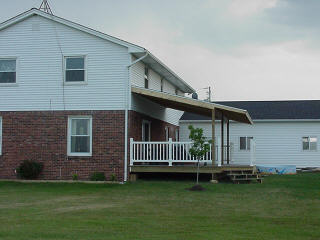
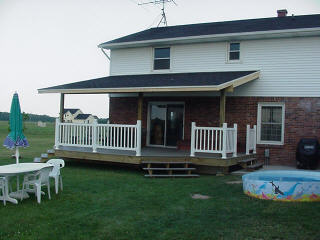
This back deck is 24 feet wide at the
widest point it is 16 feet. To add some shape and allow two sets of stairs we
cut both corners on 45 degree angles.
The lumber is all pressure treated
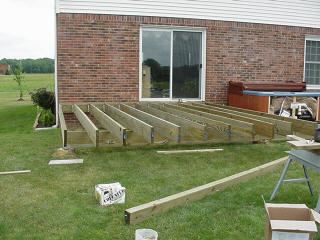
Floor joists are 2 X 10
Beam is a double 2 X 12
All joist are at 16" on center
First step was to attach
the ledger board to the
back of the house.
We used concrete mollies
drilled through the wood
and into the mortar joint
of the brick. Attached the
hangers and rolled out
the floor joists.
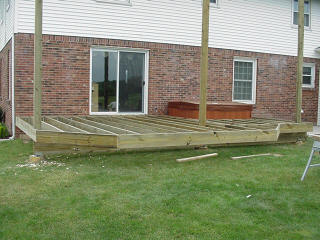
To cut in the corners
we snapped a chalk line
at a 45 degree angle then
cut the joists at the same
angle. Attach the rim joist
all the way around.
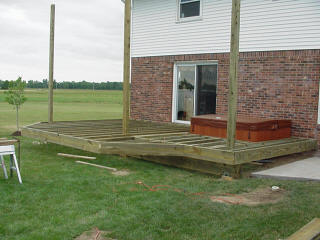
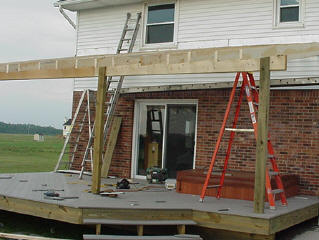
To carry the roof load
we notched out 6 X 6
posts and then nailed them
to the support beam.
The support beam is
attached to concrete
piers with metal brackets.
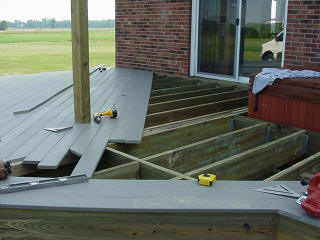
Once the joists, rim joist and 6 X 6's are all nailed off we can start the decking.
We chose to use composite decking that is the same size and 5/4 treated decking. It's more expensive but worth the cost, there is no staining or waterproofing that needs to be done. Using the special screws required it makes it easy to replace and will guarantee the decking will not move or nails pop out.
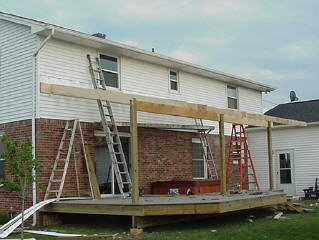
Decking all done we moved to hanging the
2 X 10 beam on top of the notched out
6 X 6's and attached the beam to each one.
Attach the ledger to the house with spikes and lag bolts, and the run the rafters each at 16" on center.
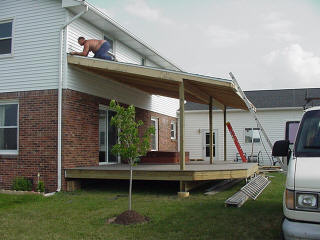
As you can see the pitch is close to the pitch on the house. I had to hug the bottom of the windows and still allow enough head height at the end of the deck. In order to allow for enough head height I cut the end of the 2 X 10 rafters to equeal a 2 X 6.
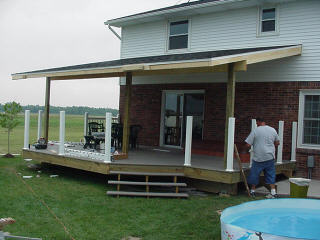
Once we were done with the framing we sheeted the roof with 1/2 inch CDX plywood, installed drip edge, 15 pound felt paper and archecturial roofing to match the house.
Roof done it was time to
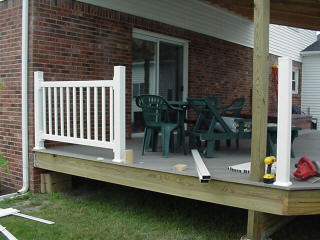
install the PVC Handrail
system.
We installed posts at
every corner, angle and
at the house.
This particular type
handrail system was
fairly easy to install'
There is a steel sleeve
that is attached to the
deck, then the 4 X 4 pvc
post slides over the top.
First this is to do all the
4 X 4 posts then the hand-
rails..
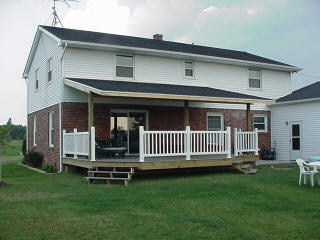
Below is the finished product. Done just in time for them to enjoy the long 4th of July weekend.
